20 Polka Dot Cat Eye Nails 2026 for Playful Fall Glam
20 Polka Dot Cat Eye Nails 2026 for Playful Fall Glam
Polka dot cat eye nails are Pinterest’s biggest beauty surge of fall 2026, with searches up 1,585% in the platform’s first Beauty Trend Report. Magnetic cat-eye polish now sits under playful polka dots, chrome rims, and French smile lines, giving a classic print a dimensional depth flat polish cannot copy.
Below are 20 fully explained polka dot cat eye nail ideas, from the viral burgundy-and-cream classic to frosty monochromes and café-inspired browns. Each design covers colors, finishes, shapes, technique, and honest wear time, so you can screenshot your favorite and hand it to your tech. If you lean toward classic autumn shapes, you will probably love our roundup of 20 Fall French Tip Nails 2026 for Chic Autumn Manicures.
1. Burgundy Cream Polka Dot Cat Eye Nails
This is the set that started the whole polka dot cat eye nails movement: a deep oxblood magnetic base swept with a rose-copper shimmer band, then dotted loosely with cream polish on all ten nails. The dots sit slightly irregular rather than in a rigid grid, which keeps the look preppy-vampy instead of retro costume. In daylight the magnetic band visibly moves under the dots, a trick that makes people stare.
Medium almond or long oval shapes give the cat-eye line room to stretch and make the dots look intentional. Ask your tech for a dark red magnetic gel with copper-toned shimmer, dotted with a large tool once the base is fully cured. This is a gel job, since the magnet work needs a wet gel layer. Expect two to three weeks of wear.

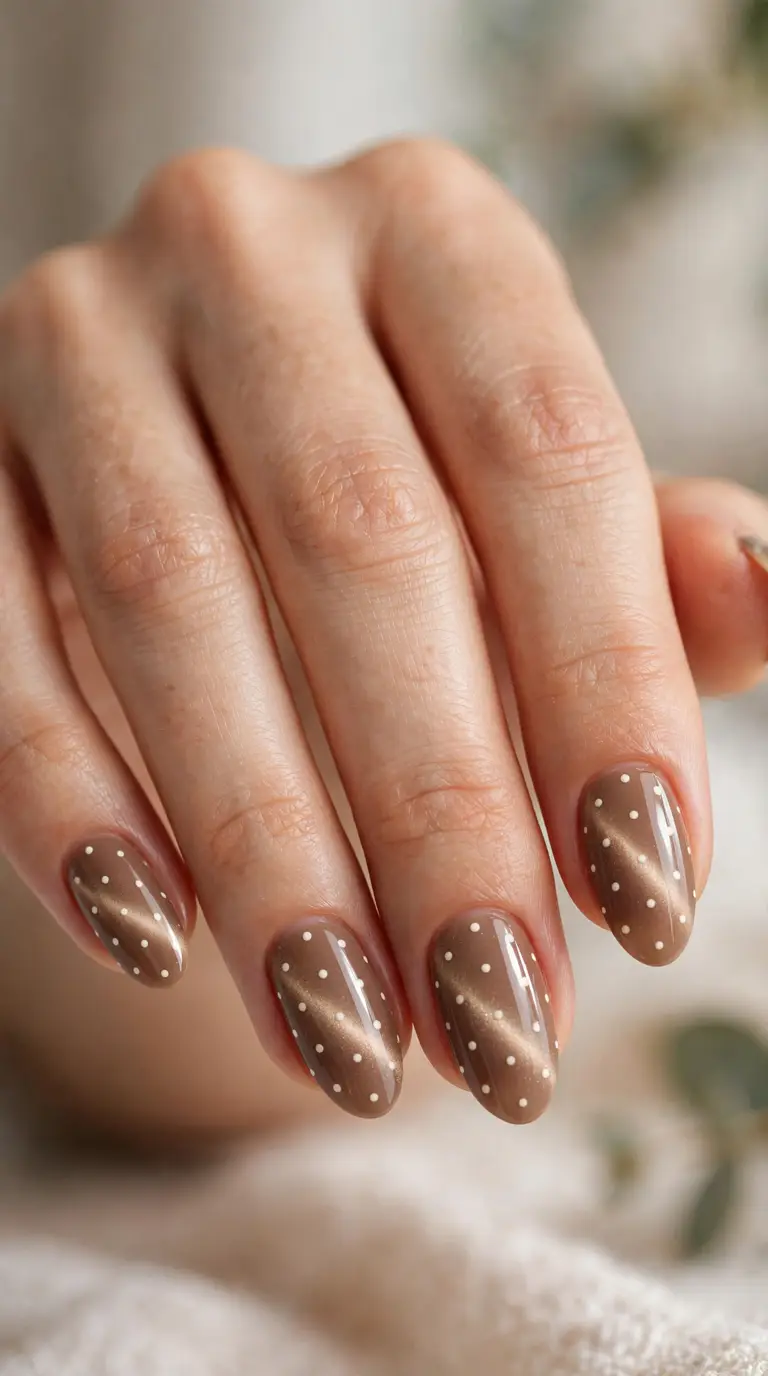
2. Latte Brown Cat-Eye With Ivory Dots
Café palettes are having a moment, with caramel and coffee nail searches up over 900%, and this set is the coziest entry point into polka dot cat eye nails. A latte-brown magnetic base glows softly under scattered ivory dots, like foam art on a good flat white. The warmth flatters fair and medium skin tones, and the neutral palette stays wearable straight through November.
Short squoval or medium oval shapes suit this best, since the cozy color story reads casual rather than dramatic. A round magnet swept slowly gives a soft halo instead of a hard stripe, which suits the milky base. Dip powder, gel, or magnetic regular polish all work here. The warm brown hides tip wear far better than black or white bases.
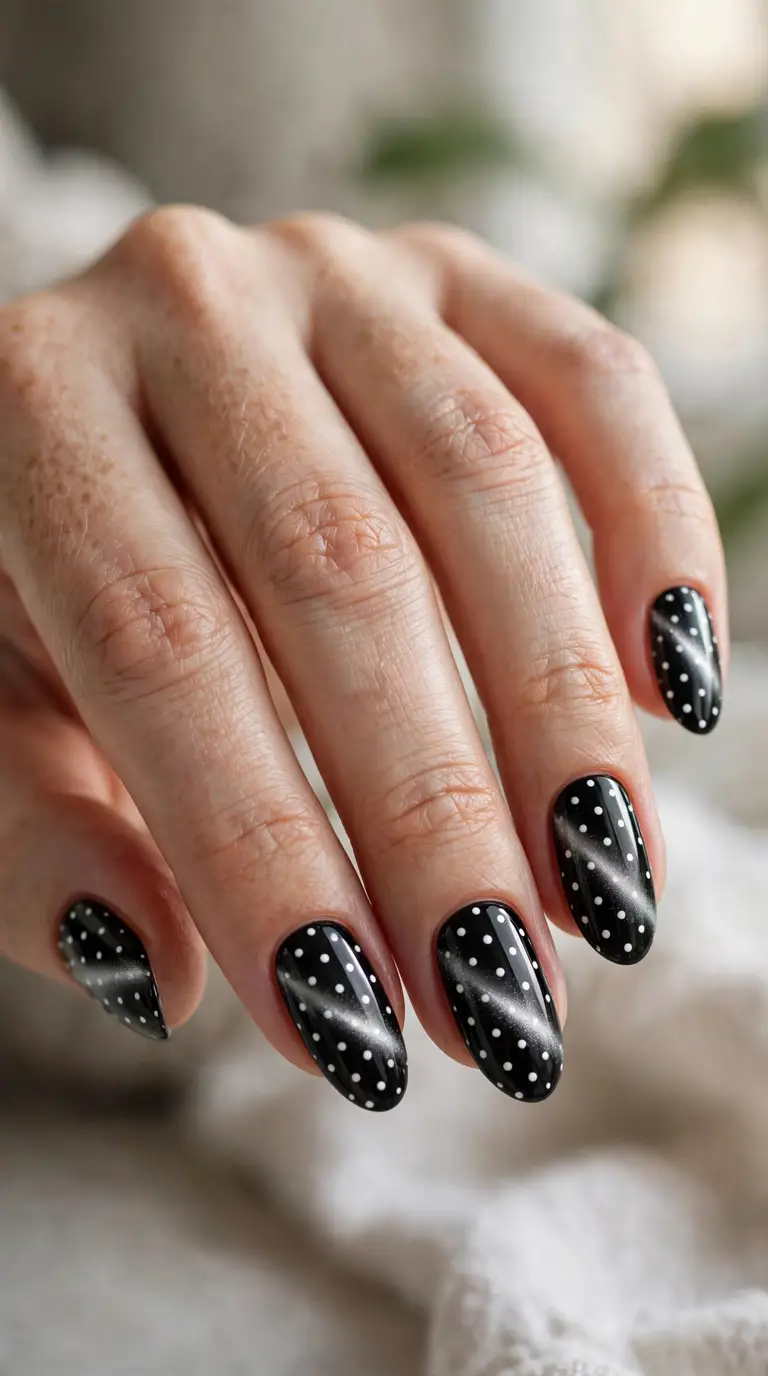
3. Black Cat-Eye With Crisp White Dots
Gothic glam meets mod sixties in this high-drama polka dot cat eye nails set. A black magnetic base with a smoky silver band sits under sharp white polka dots in a spotted cat eye nails finish, and the contrast is the whole point. It carries a Halloween-adjacent edge that still reads chic after October 31.
This design rewards precision, so longer nails, coffin or almond, show the dot pattern best. Cure the black cat-eye completely before dotting, or the white dots will drag and gray out. A large dotting tool gives the crispest edges, and two thin white coats per dot prevent translucency. Salon gel is strongly recommended; black regular polish chips visibly within days. Seal with a stain-resistant top coat, since white dots pick up color from self-tanner and hair dye.
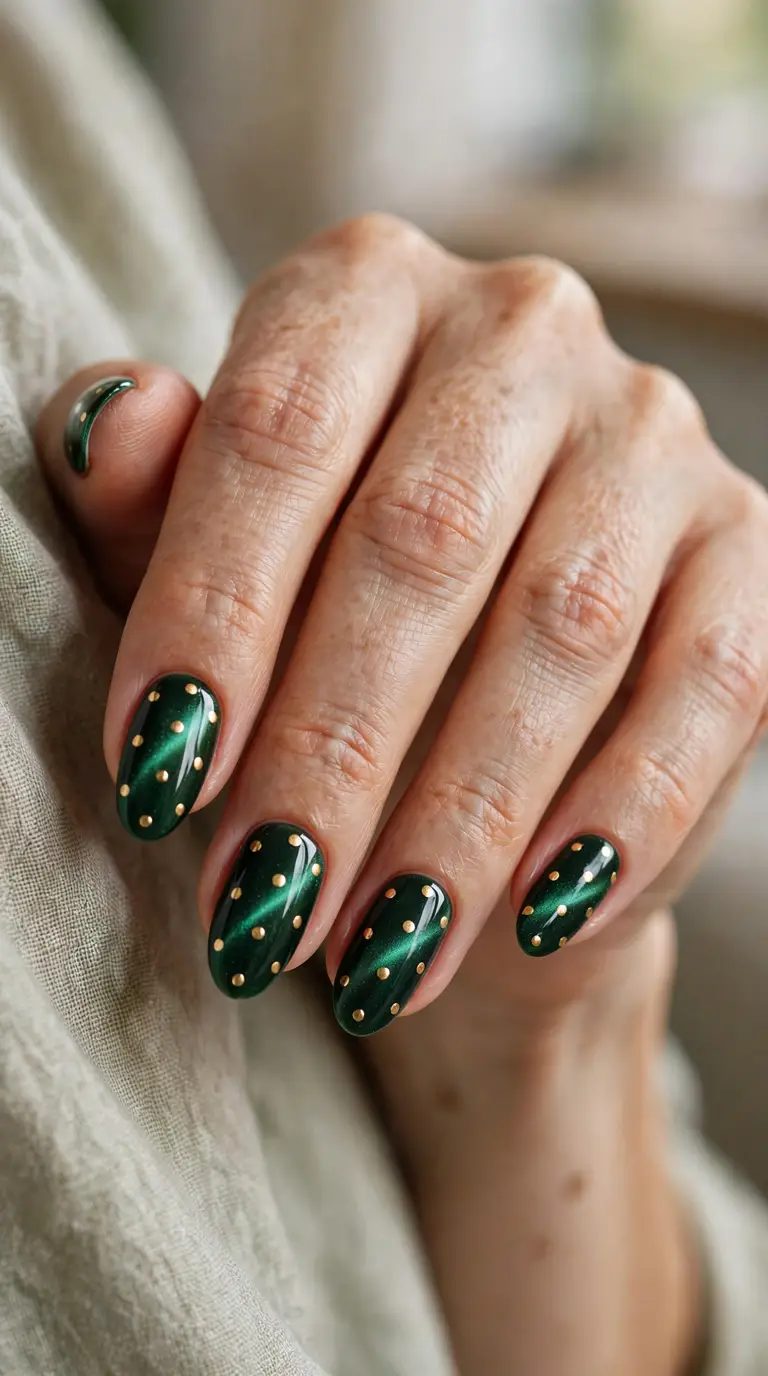
4. Forest Green Cat-Eye With Gold Metallic Dots
When you want autumn jewelry on your nails, this is the set. A deep forest-green magnetic base shifts toward glowing chartreuse in the light, and metallic gold dots scattered over it read like tiny studs on velvet. It is the most luxurious cat eye polka dot nail art in this roundup.
Medium almond shapes suit these polka dot almond nails and their jewel-toned drama. The gold dots work best in a metallic gel paint rather than chunky glitter, which keeps them smooth under top coat. Ask your tech to magnetize with a vertical band so the green stays moody at the edges. Gold dots can also be tiny rhinestones, though glued stones need checking at two weeks. The dark base hides growth, so it wears a full three weeks.
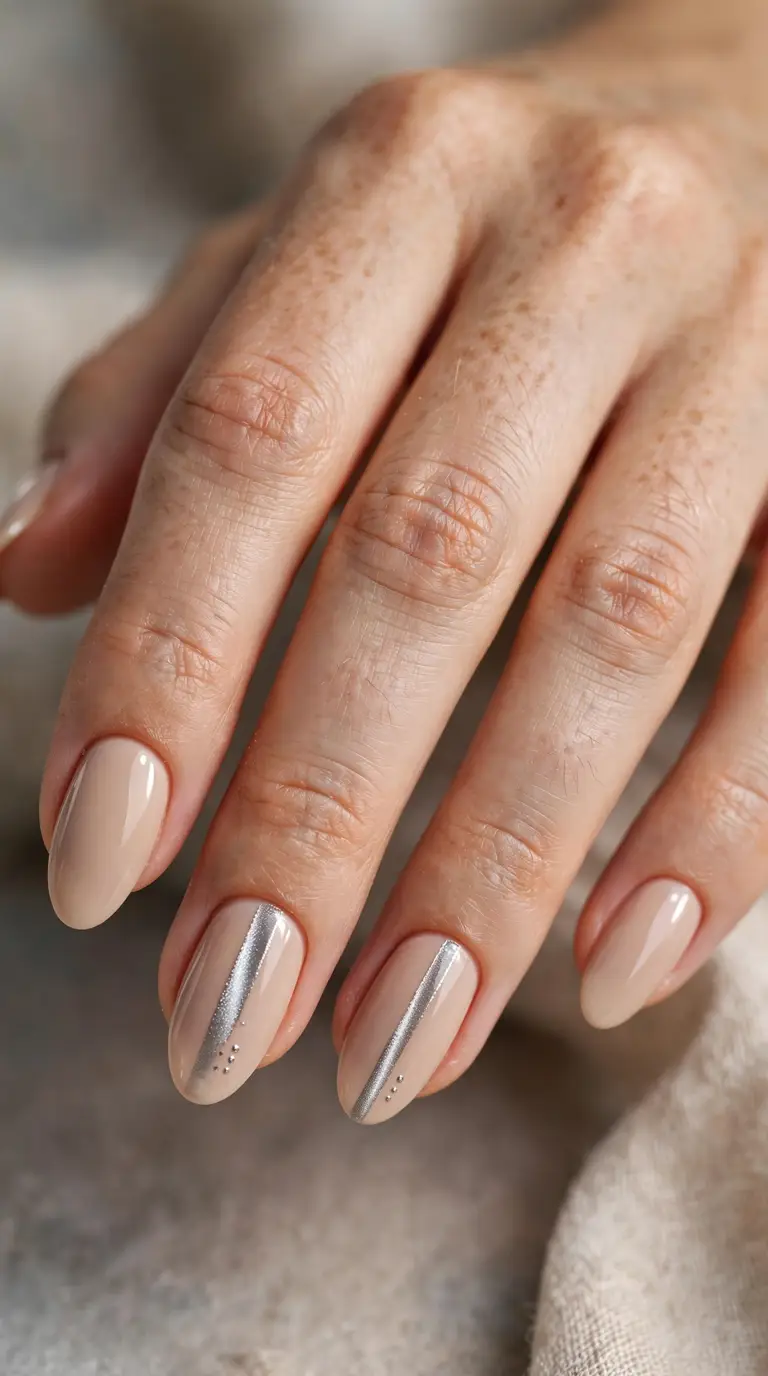
5. Cat-Eye Stripe With Dot Accents on Nude
Not everyone wants dots on all ten fingers. This minimalist polka dot cat eye nails set keeps eight nails in a clean nude beige, then concentrates the art on two accent nails per hand: a single magnetic cat-eye stripe flanked by small dot accents. It is the minimalist’s answer to the trend and a perfect trial run if you are testing whether you are a cat-eye person.
The accent nails get a soft neutral cat-eye, taupe or champagne, so the contrast stays gentle. DIY feasibility is high: paint all nails nude, then add stripes and dots on the accents with a striping brush and dotting tool. The nude majority means regrowth is barely visible.
6. Polka Dot French Tips Over Cat-Eye
French tips get the dotted treatment: instead of a solid white smile line, the tip edge is built from stacked polka dots over a sheer magnetic cat-eye base. The result reads classic French from a distance and playful up close.
Build the dot smile line with two dot sizes, larger at the center of the tip tapering to micro dots at the corners, so the curve looks smooth rather than bumpy. A sheer pink or milky cat-eye base keeps it bridal-friendly. This is doable at home with patience and a dotting tool. The sheer base camouflages chips, and gel lasts two to three weeks.

7. Reverse Polka Dots on Dark Chocolate Cat-Eye
Flip the script: instead of light dots on a dark base, this set scatters nude beige dots over a dark chocolate magnetic cat-eye. The effect is softer and more tonal than white-on-black, like cocoa dusted on espresso. It suits the quiet-luxury crowd who want polka dot cat eye nails without the graphic punch.
Chocolate brown is one of fall’s strongest neutrals, and the magnetic mocha band keeps it from looking flat. The nude dots should sit one or two shades lighter than your skin for the prettiest contrast. Gel is the reliable route, though magnetic regular polish plus a dotting tool makes a decent weekend DIY. Expect two to three weeks of wear.
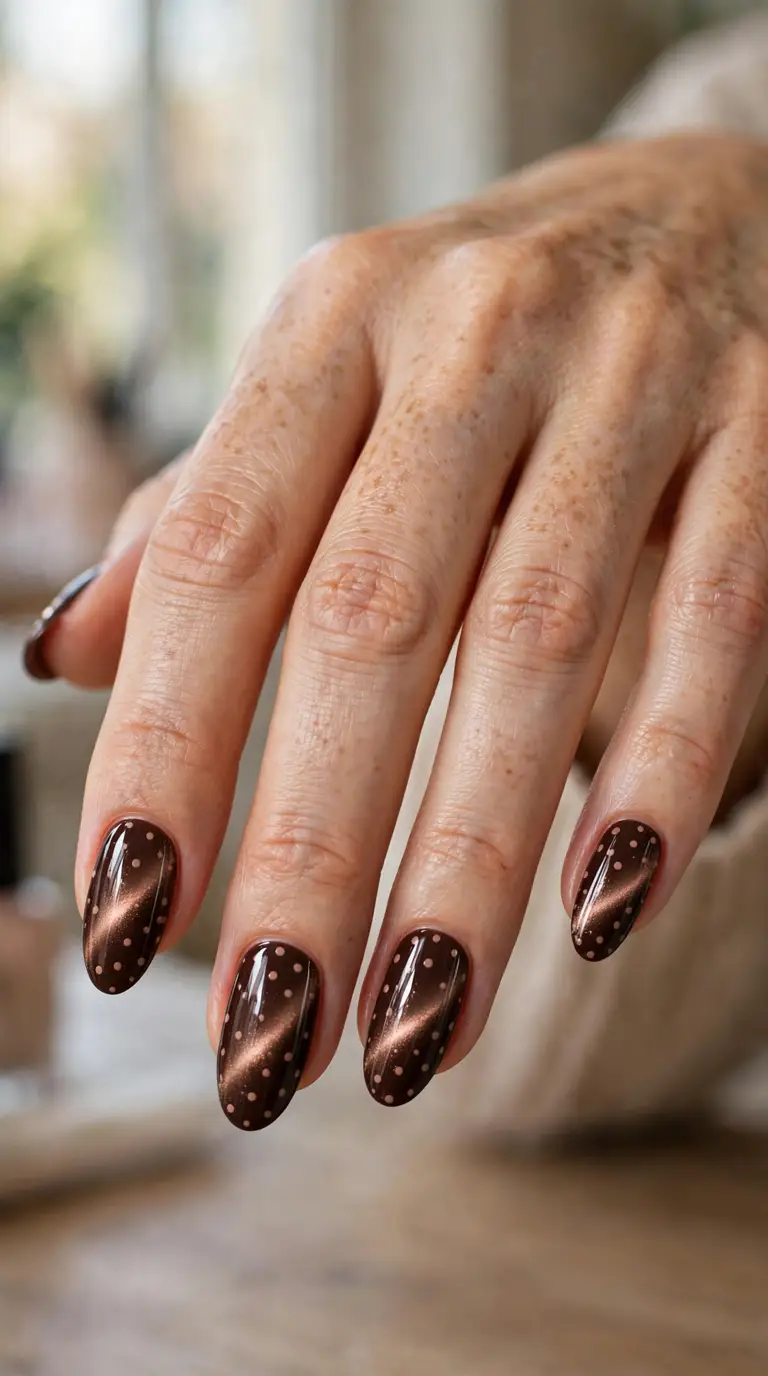
8. Burgundy-to-Black Gradient Cat-Eye With Cream Dots
Two trends in one: a sponge-blended ombré that melts burgundy into black, magnetized for depth, then scattered with cream polka dots. The gradient gives the magnetic band somewhere to travel, so the shimmer looks almost liquid. It is dramatic without being costumey, and it bridges Halloween week and late-autumn wardrobes perfectly.
Build the ombré in thin sponge layers, curing between passes to avoid a muddy line where the colors meet. Dots go on last, after the gradient is fully cured, using cream gel paint for opacity. This is firmly a salon design; gradients plus magnet work plus dots means a lot of curing steps for a home setup.

9. Dot Halo Accent Nail for Minimalists
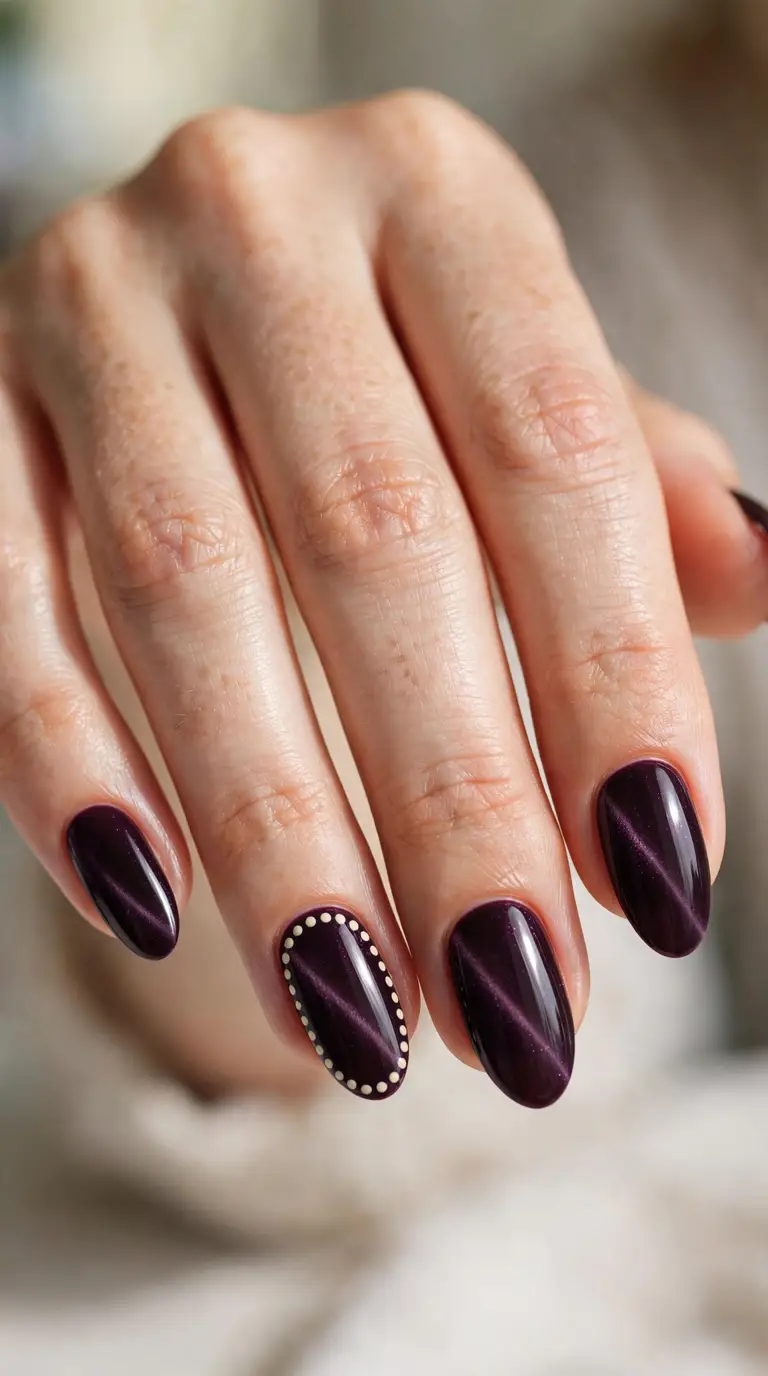
Sometimes one statement nail carries the whole hand. Here, nine nails wear a plain dark plum magnetic cat-eye, and a single accent nail is ringed with a halo of small cream dots tracing its border. The restraint is what makes it striking: the eye goes straight to the framed nail.
Place the halo on the ring finger for a classic accent, or the middle finger for a bolder read. The dot ring should follow the nail’s shape with even spacing, which takes a steady hand and a fine dotting tool. Keep the base cat-eye simple, a soft vertical band, so the halo stays the star. It adapts easily to short nails and suits office dress codes.
10. Milky White Chrome Cat-Eye With Pastel Dots
The softest take on polka dot cat eye nails: a milky white magnetic base with a pearlescent glow, dotted with pastels in pink, mint, lavender, and baby blue. It reads frosty and sweet, like candy for your nails, and it is the best option here for anyone who finds dark fall palettes too heavy.
White bases demand good prep because every ridge shows, so push back cuticles carefully and use a ridge-filling base. Apply each pastel dot in one confident touch; going back over them drags the color. Almond and oval shapes keep it delicate. Wear is two weeks in gel, though white shows stains, so avoid turmeric and self-tanner on day one.

11. Emerald Tone-on-Tone Micro Dots
A nail artist’s favorite kind of subtle: an emerald magnetic base dotted with micro dots in a matching shimmery emerald tone. From across the room it looks like a plain green cat-eye set; up close, the texture reveals itself. Tonal polka dots are exactly what editorial nail artists recommend this fall, because the finish contrast breaks up the velvet base without looking busy.
Use a fine dotting tool and a light touch on a fully cured base. Short to medium nails suit the understated scale. DIY is possible with two magnetic polishes in the same color family. If emerald is not your color, the same technique works in plum, navy, or oxblood.

12. Single-Column Polka Dot Cat Eye Nails
Graphic and modern: one vertical column of cream dots running down the center of each nail over a deep plum magnetic cat-eye. The centered line elongates the nail visually, which makes this a great pick for shorter nail beds.
Symmetry is everything, so find the center of each nail before dotting and keep dot size consistent across these cat eye dot designs. A striping guide or a steady hand both work. Medium almond or oval shapes flatter the vertical line most. Very DIY-friendly with magnetic polish and a dotting tool; gel gives two to three weeks of wear.

13. Dot-and-Stripe Mix With One Striped Accent
Playful maximalism done right: most nails carry classic polka dots, while one accent nail per hand swaps dots for thin stripes in the same color palette. The mix keeps the retro polka dot nails vibe fresh instead of repetitive, and the striped nail stops the set from reading too sweet.
Keep the palette tight, navy and cream or burgundy and nude, so the two patterns read as one design. The striped accent is best done with a striping brush in steady, even lines; slightly wavy lines look handmade in a charming way. Salon gel is easiest for the striping precision.

14. Shimmer Dots on a Matte Solid Base
Here the cat-eye polish is used only for the dots, painted over a matte solid dark base. The shimmer dots catch the light while the base stays flat, creating a finish contrast that feels modern and a little bit witchy. It is a clever way to wear the magnetic polka dot cat eye nails look without committing to a full magnetic base.
The matte base must be fully cured and wiped before dotting, or the shimmer polish will drag into the matte layer. Use a cat-eye polish for the dots and pass the magnet over each dot individually for maximum glow. DIY is very doable with no magnet work on the base itself. Refresh the matte top coat weekly to keep the contrast sharp.

15. Matte Cat-Eye Base With Glossy Dots
Finish play at its best: a matte burgundy magnetic base paired with glossy dots in the same burgundy tone. The dots are nearly invisible until the light hits, then they flash. It is the most subtle polka dot cat eye manicure here, and the one most likely to get compliments from people who notice details.
The trick is curing order: magnetize and matte-top-coat the base first, then add glossy dots and seal only the dots, or use a glossy gel paint that needs no top coat. Keep the palette monochromatic for the full effect. Short nails work beautifully since the design is about texture, not scale. Glossy dots may need a touch-up top coat at week two.

16. Burnt Orange Cat-Eye With Chocolate Dots
Pumpkin spice in nail form. A burnt orange magnetic base glows warm under chocolate brown polka dots, capturing peak autumn in one set. It is festive without a single Halloween motif, so it carries you from October straight through Thanksgiving. If you love warm reflective finishes generally, you will probably love our roundup of 20 Fall Chrome Nails 2026 for Stunning Autumn Manicures.
Warm skin undertones make this palette sing, though the depth keeps it flattering on cool tones too. The chocolate dots should be a true brown, not black, to keep the warmth. Medium almond shapes suit the cozy drama. Gel is recommended for the magnet depth; regular magnetic polish works for a shorter-lived version.

17. Retro Mixed-Size Dots
Oversized dots paired with micro dots on the same nail give this set its retro diner energy. The size contrast keeps the eye moving, and over a deep plum magnetic base the whole thing feels vintage-modern rather than childish. It is the most fun-forward dot pattern cat eye nails design in this roundup.
Placement is the skill here: anchor each nail with one or two large dots, then fill the gaps with micro dots, keeping clear space between sizes so they do not blur together. Very DIY-friendly, and the busy pattern hides chips brilliantly.

18. Negative-Space Dots on Bare Nude
Barely-there and very now: a sheer nude base with small magnetic dots floating on the outer half of each nail tip. The negative space keeps it light and elongating, while the shimmer dots add just enough interest. It is the airiest playful cat eye nails option here and a strong pick for strict dress codes.
Prep is critical since the sheer base shows everything; buff gently and use a ridge filler. Place the dots only on the outer half, fading out toward the cuticle, for the true negative-space effect. Short to medium oval nails look most elegant. Reapply top coat every few days, since sheer bases show tip wear quickly.

19. Silver Cat-Eye With Black Dots
High-contrast monochrome: a silver chrome cat-eye with a mirror-like reflective band, stamped with bold black polka dots, the boldest polka dot chrome nails in this list. It is futuristic, graphic, and surprisingly versatile, working with everything from all-black outfits to crisp white shirts. Think mod sixties meets space age.
Silver magnetic polish needs a perfectly smooth base because metallics highlight every ridge, so do not skip the ridge filler. The black dots should be opaque gel paint, applied after the silver is fully cured. This is best as a salon set; silver chrome finishes are unforgiving of DIY unevenness.

20. Confetti Dots With Chrome-Rimmed Edges
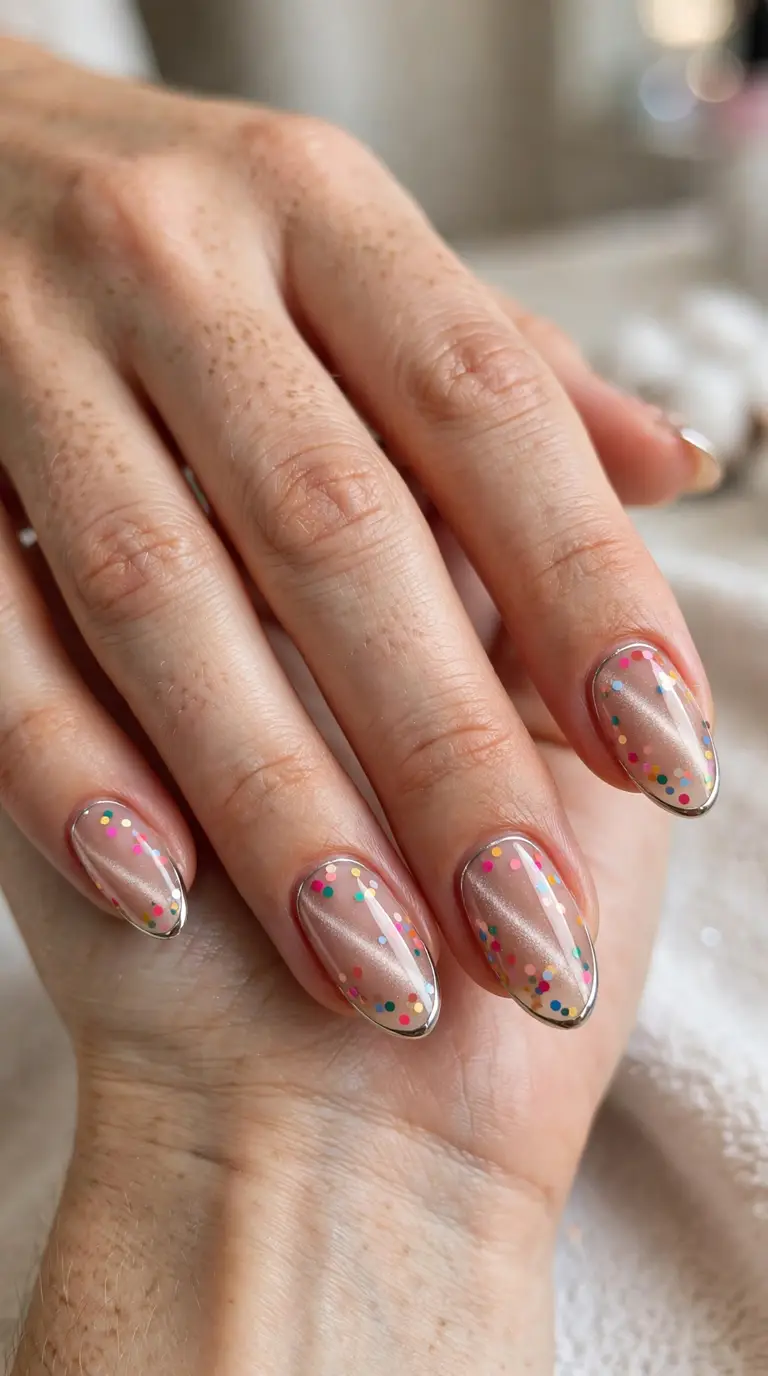
The party set: multicolor confetti dots scattered over a sheer magnetic base, with each nail outlined in a thin chrome rim along the free edge. The chrome outline frames every nail like tiny jewelry, which is exactly the “manicure as accessory” idea Pinterest’s trend report highlights. It is festive, maximalist, and unapologetically fun.
The chrome rim is the technical star: apply chrome powder to a cured no-wipe top coat just along the edge, or use a metallic striping polish for a DIY version. Keep the confetti dots small and limited to three or four shades so the set stays cohesive. Chrome edges can lift at the tip, so cap the free edge carefully with top coat.
Pro Tips for Polka Dot Cat Eye Nails
Always cure the magnetic base fully before adding dots; dotting into a tacky layer drags the shimmer and muddies both colors. A dotting tool set with four or five sizes covers every polka dot cat eye nails design here.
For the magnet work, hold the magnet close but not touching, and move slowly. A round magnet gives a soft halo, a bar magnet gives a sharp stripe. Work one or two nails at a time so the gel does not set before you magnetize. Seal dots with two thin top coats to avoid dragging the edges, and confirm your salon stocks magnetic gels in your shade before booking.
Polka Dot Cat Eye Nails FAQs
How long do polka dot cat eye nails last?
In gel, two to three weeks is standard. Dark bases hide tip wear best, while white and sheer bases show it sooner. On magnetic polka dot nails, the dots rarely chip first since they sit under top coat; the free edge is always the weak point.
Can I do polka dot cat eye nails with regular polish?
Yes, with limits. Magnetic regular polishes exist and work for the base, and dots are easy with a dotting tool. The magnet effect is softer than gel and wear is about five to seven days. For the dimensional versions here, gel is worth the salon visit.
What nail shape suits dotted cat eye nails best?
Almond and oval flatter most dotted designs because the curved silhouette echoes the dots. Coffin works for bold graphic sets like the monochrome or confetti designs. Short squoval is fine for tonal, minimal, and negative-space versions; just keep the dots small.
How do I get all my dots the same size?
Load the dotting tool with the same amount of polish each time and touch the nail with the same light pressure, lifting straight up without dragging. Wipe and reload the tool every two or three dots. Practicing on a nail wheel first makes a visible difference.
Will the magnet ruin my dot pattern?
Not if you cure between steps. Magnetize the base, cure it fully, then place your dots. Never hold the magnet over wet dots. Cured gel is unaffected by magnets.
Final Thoughts
Polka dot cat eye nails earned their breakout status because they do two things at once: the dots bring the playfulness, and the magnetic base brings the depth. Start with the burgundy classic for the proven viral set, reach for latte or chocolate tones for cozy everyday wear, or go monochrome for maximum contrast. Cure between layers, keep your palette tight, and let the shimmer do half the work.