
20 Black Halloween Nails 2026 for Spooky Elegant Manicures
20 Black Halloween Nails 2026 for Spooky Elegant Manicures
Black polish is the backbone of every October manicure, but 2026 is taking it somewhere more refined. This year's black halloween nails trade costume-shop clichés for dark glamour: velvety mattes, liquid-mirror chromes, magnetic cat-eyes and hand-painted details that look spooky from across the room and expensive up close.
Below are twenty genuinely different black nail designs, each black-dominant, Halloween-spooky and elegant enough to wear past the 31st. Every design is explained properly, so you can picture it, ask your nail tech for it by name, or recreate it at home. And if your taste runs darker still, our vampire nails roundup leans into blood-red drama that pairs beautifully with these looks.
1. Silver Spiderweb Art on Matte Black Halloween Nails
A matte black base sets the stage for fine silver spiderweb nail art across one or two accent nails. Thin metallic lines radiate from one corner, joined by delicate arcs. Done well, it reads as jewellery rather than costume.
Medium to long coffin or almond nails give the web room to breathe. Ask your tech for matte black gel with a silver spiderweb accent, or DIY it with a striping brush and metallic silver gel paint, curing between the base and the art. Keep the web to two nails; covering every nail turns elegant into busy. Wipe matte nails with alcohol at night to remove oils.

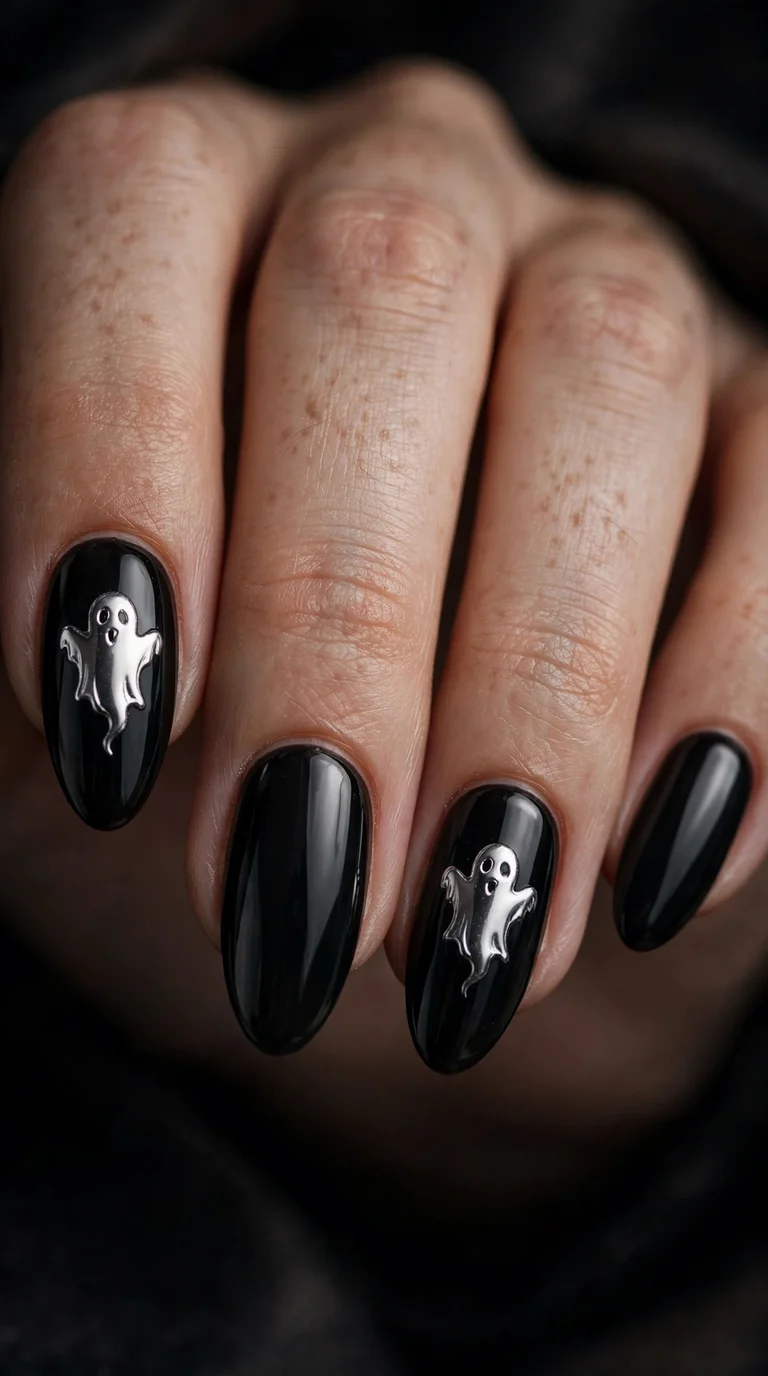
2. Glossy Black Almond Nails with Chrome Ghost Silhouettes
Glossy black almond nails get an unexpected twist here: small ghost silhouettes rendered in silver chrome powder. Each ghost is painted onto the cured black base with no-wipe top coat, chrome powder is burnished over the tacky shape, then everything is sealed glossy. The result is a mirror-bright ghost floating on deep black shine.
The reflective chrome against glossy black keeps this premium instead of cartoonish. Keep ghosts small and simple on two or three nails, and note that chrome powder needs a perfectly smooth base, so buff carefully and work one nail at a time. Medium almond suits it best, since the tapered shape echoes the silhouette. A salon will charge standard chrome-art pricing.
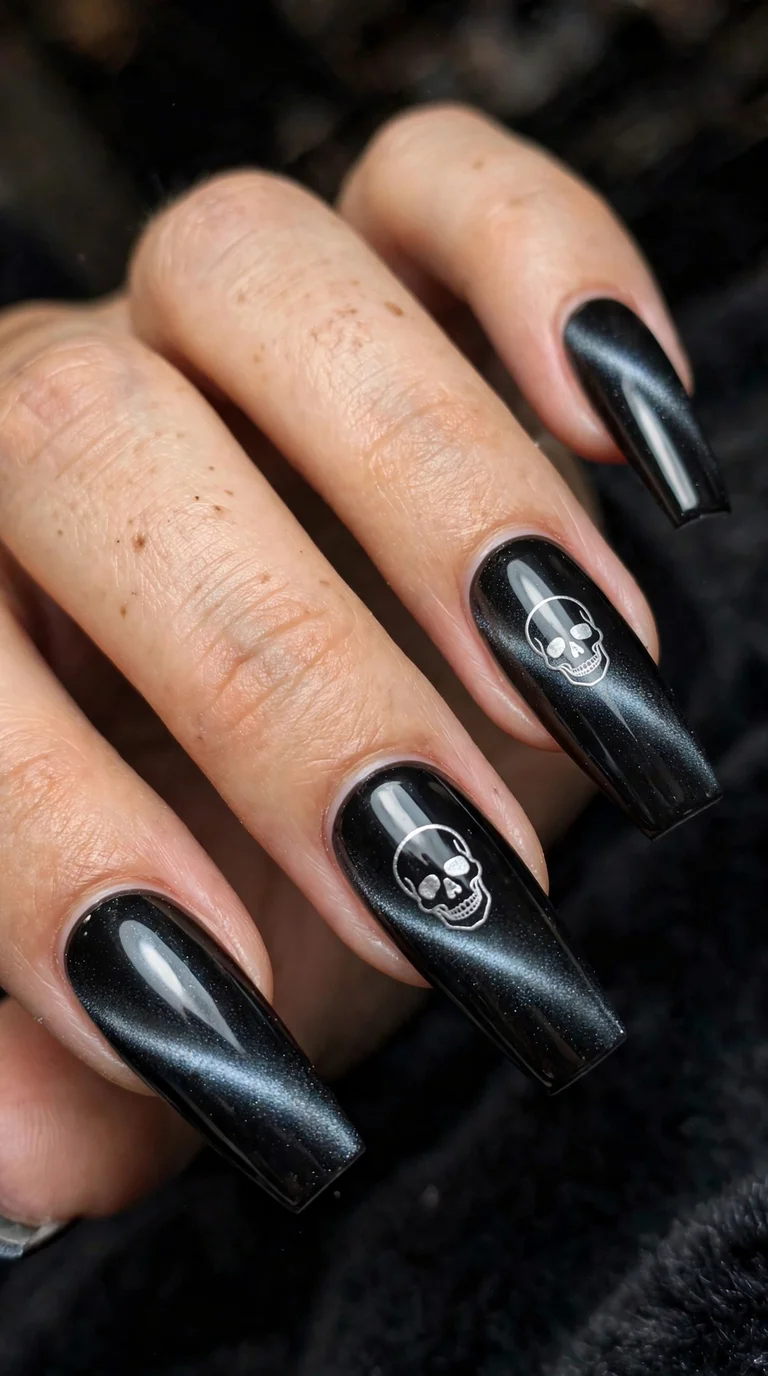
3. Black Cat-Eye Nails with Hand-Painted Skull Details
Magnetic black cat-eye gel creates the base: dark dimensional shimmer with a band of light that shifts as the hand moves. Over that, two accent nails carry small hand-painted skull outlines in silver or pale grey. The skulls stay minimal, just cranium curve, eye sockets and a hint of teeth, which keeps these black cat eye nails chic rather than heavy metal.
Long coffin or stiletto nails show the magnetic dimension best, though medium almond works too. The technique needs magnetic gel polish and a magnet held at an angle while the gel is wet, while skull detailing takes a fine liner brush and a steady hand, so this leans salon. Tell your tech you want black cat-eye with skull line-art accents. The magnetic effect hides minor imperfections as nails grow out.
4. Velvet-Effect Black Nails for Dark Glamour
Flocking powder transforms black gel into something that looks like crushed velvet. The powder is pressed into a tacky layer over cured black gel, then the excess is brushed away, leaving a soft, light-absorbing texture on all ten nails. No art, no glitter, just depth.
Short to medium square or almond nails suit velvet best, since very long velvet nails can look costume-y. The trade-off is maintenance: velvet and water do not mix, so wear gloves for dishes and skip long soaks. Application is straightforward but messy, which is why many techs prefer doing it in-salon; wear runs around ten days to two weeks.

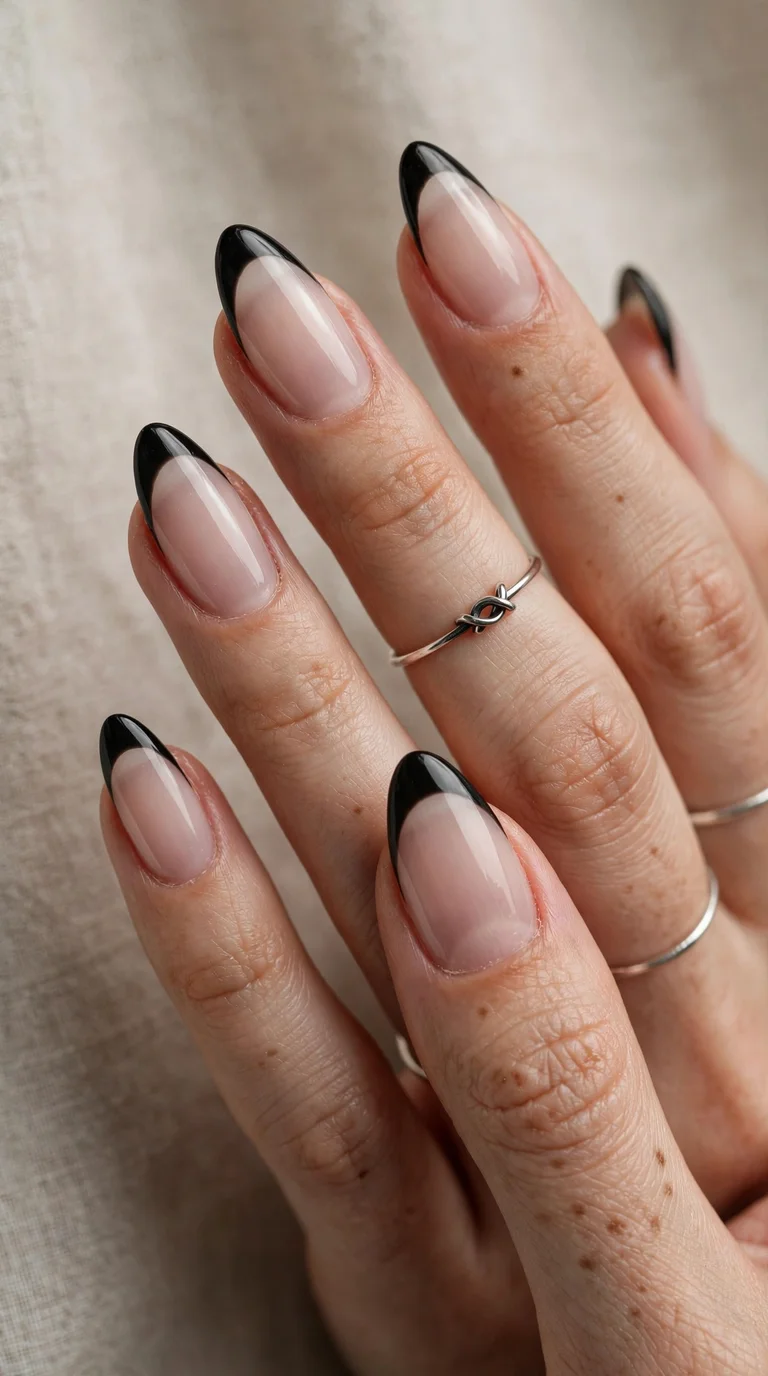
5. Black French Tips on a Sheer Nude Base
The French manicure goes gothic: a sheer nude or milky pink base with crisp black tips, the smile line clean and slightly deeper than a classic French for a modern feel. It is the most wearable of these black halloween nails, spooky only by colour, and it survives offices that frown on full Halloween sets.
Almond, square and squoval shapes all carry this well. This is one of the most DIY-friendly designs on the list: use French guides or a cleanup brush with acetone to sharpen the line, then seal with glossy top coat. In-salon, ask for a black French on a sheer nude base and specify your tip depth. Gel lasts two to three weeks; regular polish needs attention by day five.
6. Celestial Dark Halloween Nails with Gold Moons and Stars
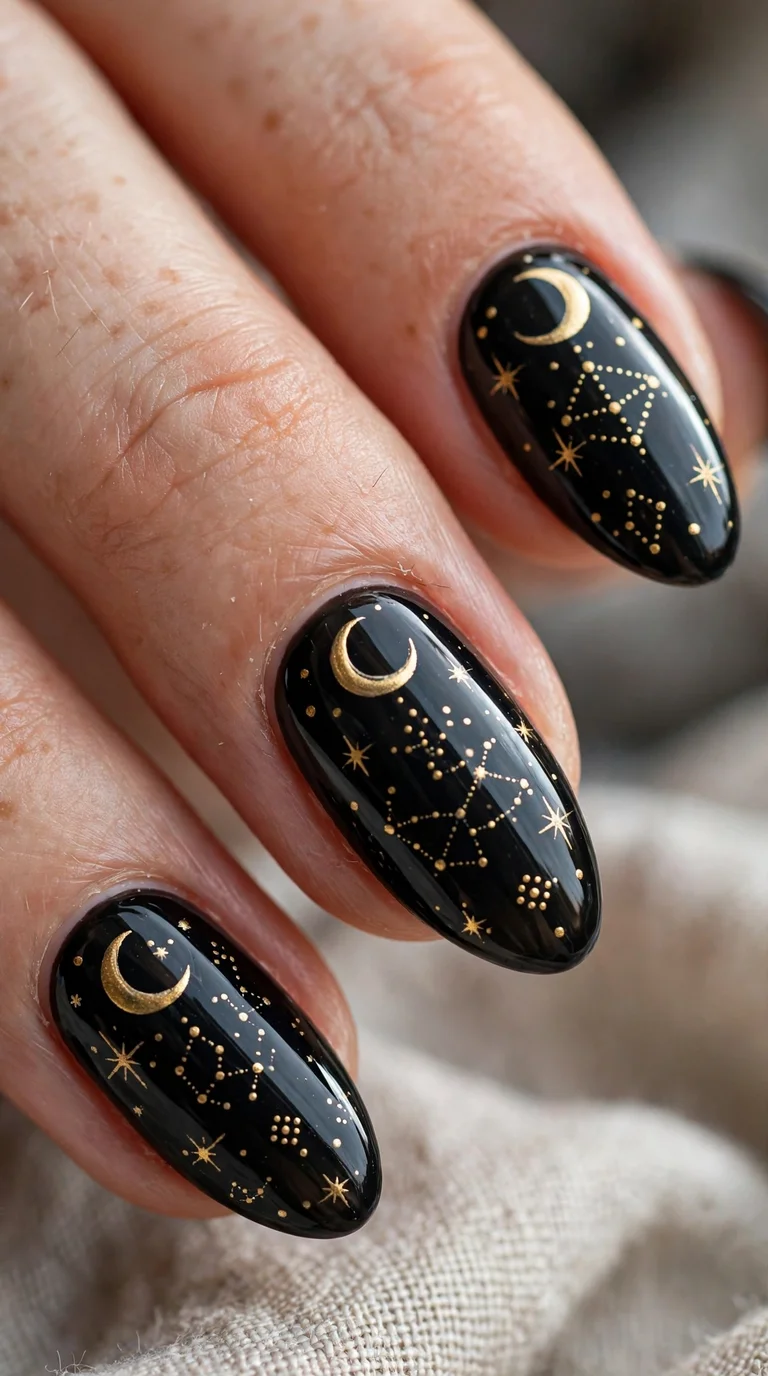
Glossy black becomes a night sky scattered with hand-painted gold crescents, tiny stars and dot constellations. The gold can be metallic gel paint or foil, placed asymmetrically so it feels organic rather than stamped. A crescent moon on the thumb with scattered stars across the rest always works.
Medium almond or oval shapes suit this best, where the curved surface reads like the sky. Fine detail needs a steady hand, so budget extra salon time, though stickers or decals are a decent DIY shortcut if freehand stars wobble. Seal everything under two layers of glossy top coat to protect the metallics. Gold on black is naturally elegant, so this set carries from Halloween night into November.
7. Witchy Purple Aura Centres over Black
An aura manicure gets a midnight makeover: deep black at the edges melting into a glowing purple centre on each nail. The purple is bloomed into wet black gel with a sponge or ombré brush, creating a lit-from-within effect. It reads unmistakably witchy without a single literal motif.
Coffin and almond shapes in medium to long lengths give the aura room to glow. The technique is forgiving for DIY because aura is meant to be soft and diffused, with no hard lines to get wrong. Layer sheer purple gel in thin passes until the glow builds. A matte top coat gives a smoky finish while glossy makes the purple pop. Either finish keeps these witchy nails elegant rather than costumey.

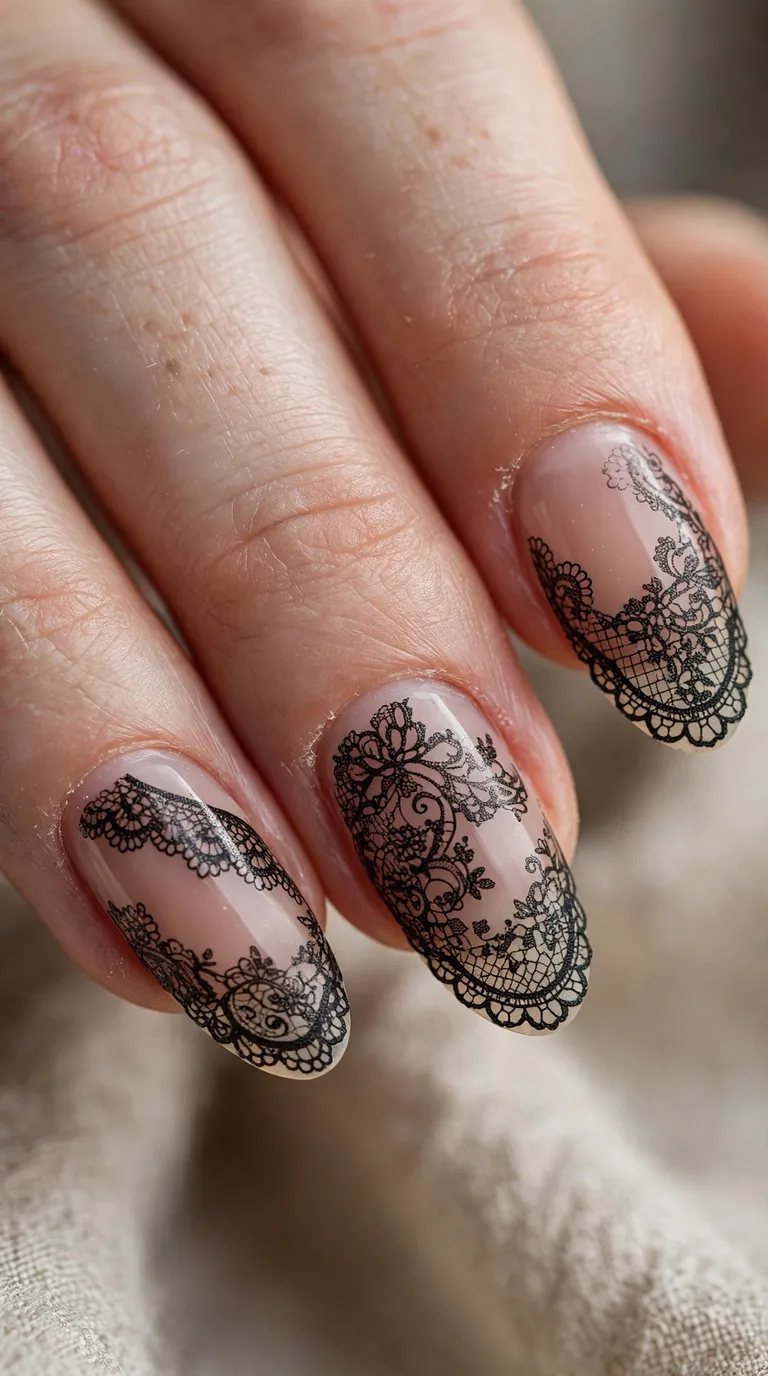
8. Black Lace Patterns over Sheer Nude
Sheer nude nails overlaid with intricate black lace read like vintage mourning gloves, exactly the gothic halloween nails mood without kitsch. The lace is usually stamped from a plate with black stamping polish, giving crisp filigree and scallops that would take hours by hand.
Short to medium nails in any shape work, and this is one of the few detailed designs that genuinely flatters short nails. Stamping is very DIY-accessible: a plate, a stamper, black stamping polish and practice on paper first, using a quick firm roll so the image transfers cleanly. Seal with glossy top coat to protect the stamped lines. Because the base is sheer, grow-out is subtle.
9. Black Marble Nails with Silver Veining
Black marble with fine silver veins looks like polished obsidian: dark, expensive and faintly supernatural. The marble is created by blooming grey gel into wet black, then dragging ultra-fine silver lines through with a detail brush. No two nails match, which is the point.
Medium to long almond or coffin nails give the stone pattern space to develop. Blooming gel is beginner-friendly at home: apply black, add drops of grey, let them spread, then vein with silver, since the randomness hides mistakes beautifully. Finish with a perfectly smooth, glossy top coat to sell the stone effect, and cap the free edge well.

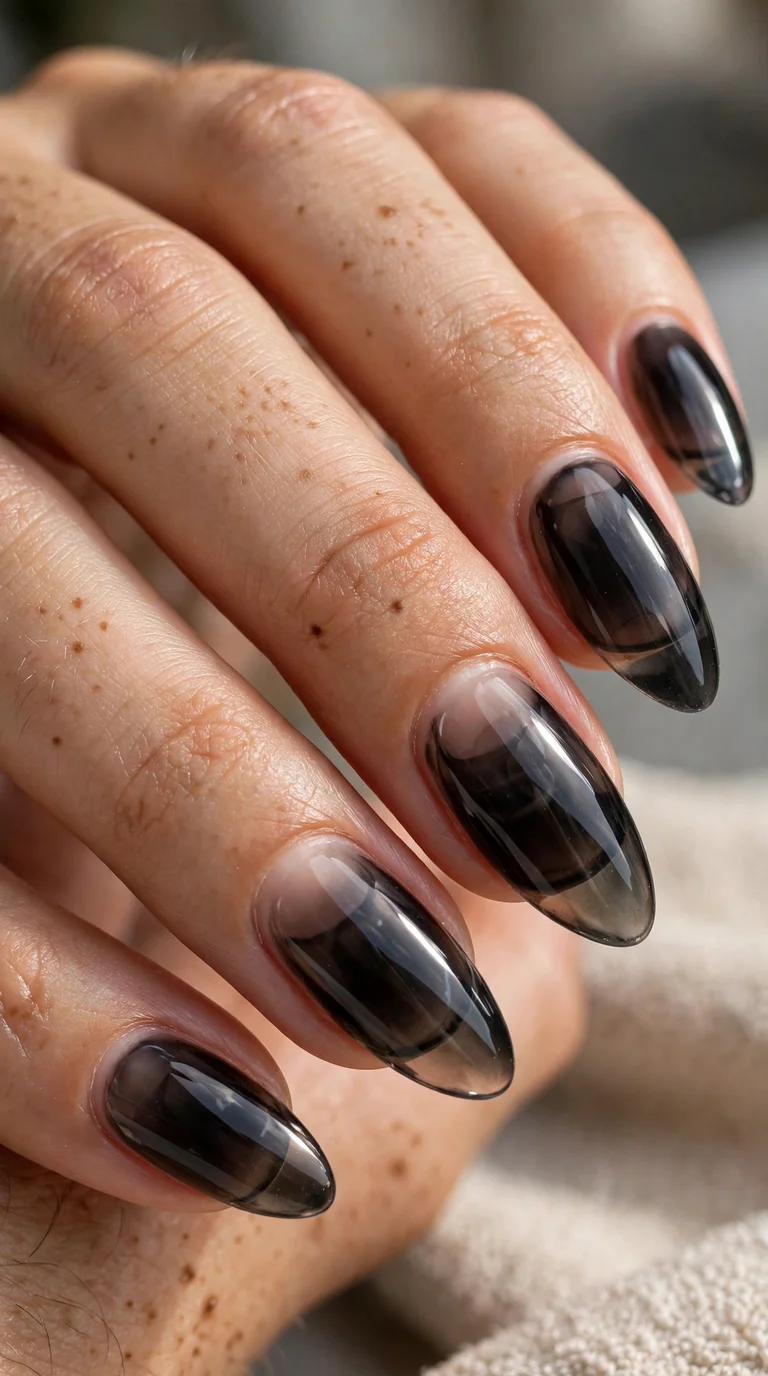
10. Translucent Black Jelly Nails
Jelly polish, sheer and glassy, layered over nude builds a translucent black with real depth, like looking into dark water. Two to three thin coats give a smoky see-through finish, softer than opaque black but still moody, sealed with a high-gloss top coat.
Medium almond or oval nails show the translucency best, and the sheerness flatters shorter nails too. Jelly application is easy for DIY since thin coats self-level and hide brush strokes; the challenge is patience, because each layer must cure fully or the finish clouds. Since the colour is sheer, chips are less visible and grow-out blends softly, stretching these black halloween nails toward three weeks of wear.
11. Glossy Black Nails with Silver Foil Flakes
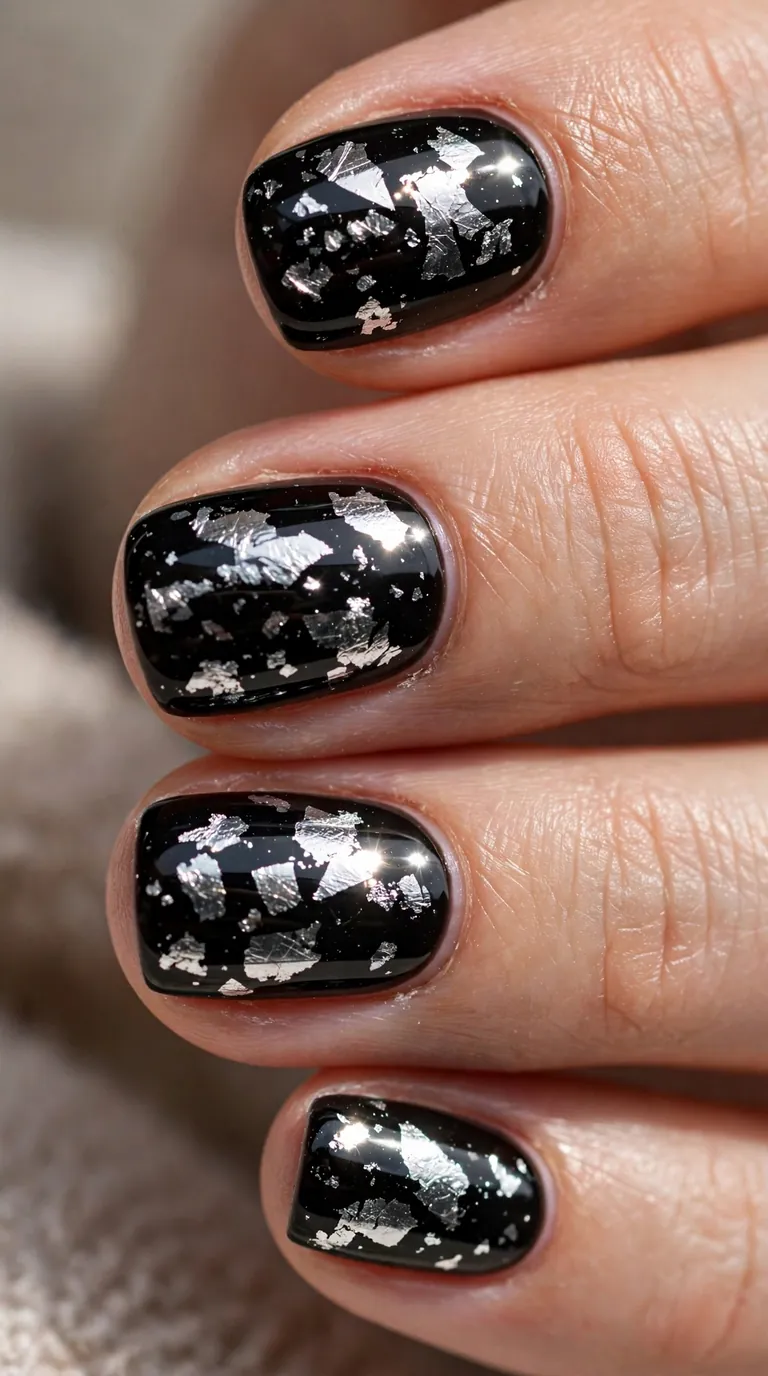
Torn silver foil flakes are scattered over black gel, then encapsulated under glossy top coat, creating a shattered-mirror effect. Each nail catches light differently, giving flat black real movement. Placement is random by design, so there is no wrong way to do it.
Any shape and length works here. It is genuinely easy at home: apply black gel, press foil pieces on with tweezers while the layer is tacky, cure, then float top coat over the flakes so the surface stays smooth. Encapsulation is the key step, since exposed foil lifts within days while sealed foil lasts the full two to three weeks.
12. Blood-Red Ombré Fade Black Halloween Nails
Black at the cuticle melting into deep blood-red at the tips delivers drama through colour alone. The gradient is sponged so the transition is seamless, dark and smouldering rather than bright. It stays elegant because the blend is flawless.
Long coffin or stiletto nails carry the fade best, giving the gradient room to travel. Sponge ombré at home takes practice: dab thin layers, cure between passes, and clean the cuticles meticulously. Airbrush gives the smoothest result and is worth requesting at a salon equipped for it. Dark reds can stain, so a solid base coat under the black is essential on natural nails.

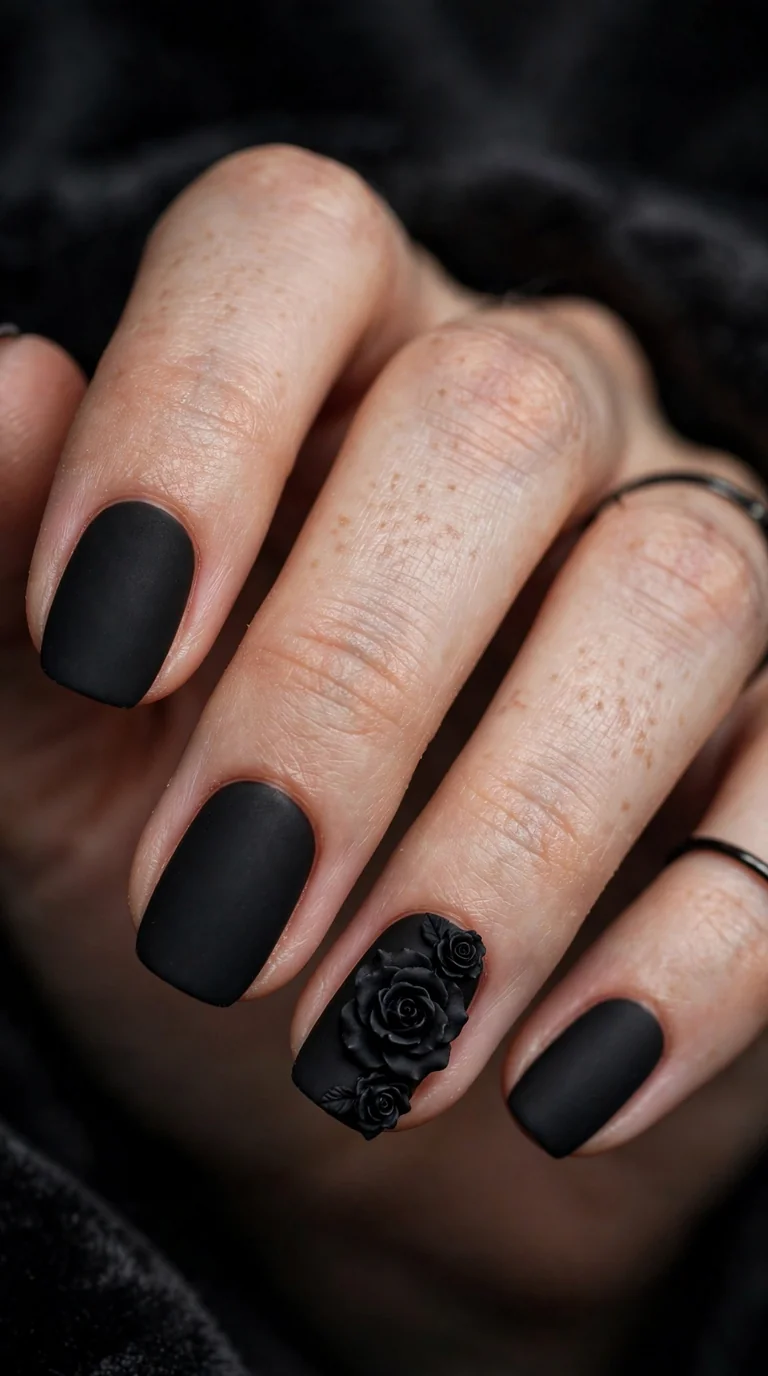
13. Sculpted 3D Black Roses on Matte Black
Tiny roses sculpted from black acrylic sit on a matte black base, usually on the ring finger. The 3D petals catch shadows and light for a gothic, almost couture effect. Everything stays black, so the impact comes purely from dimension and texture.
This is firmly a salon design. Sculpting miniature roses needs acrylic skill and proper monomer control, and the roses must be anchored well to survive daily life. Medium to long nails provide the platform; short nails cannot support the sculpture. Confirm your tech sculpts rather than gluing pre-made charms, which never sit as naturally. The honest trade-off is maintenance: 3D art snags on fabric, so expect to be careful for the one to two weeks these last.
14. Mirror-Finish Black Chrome Nails
Black chrome powder burnished over black gel creates a liquid-metal mirror, the darkest and sleekest finish in the chrome family. All ten nails, no art needed. The effect is futuristic and faintly menacing, yet these chrome halloween nails stay minimal enough to feel high fashion.
The professional truth: chrome shows every imperfection. Prep must be flawless, with smooth filing, careful cuticle work and a level gel base, or the mirror highlights every ridge. Short to medium almond or squoval nails look sharpest. DIY is possible with no-wipe top coat and chrome powder, but the mirror demands practice, so most people get better results in-salon. Wear matches standard gel, though the mirror dulls if you skip cuticle oil.

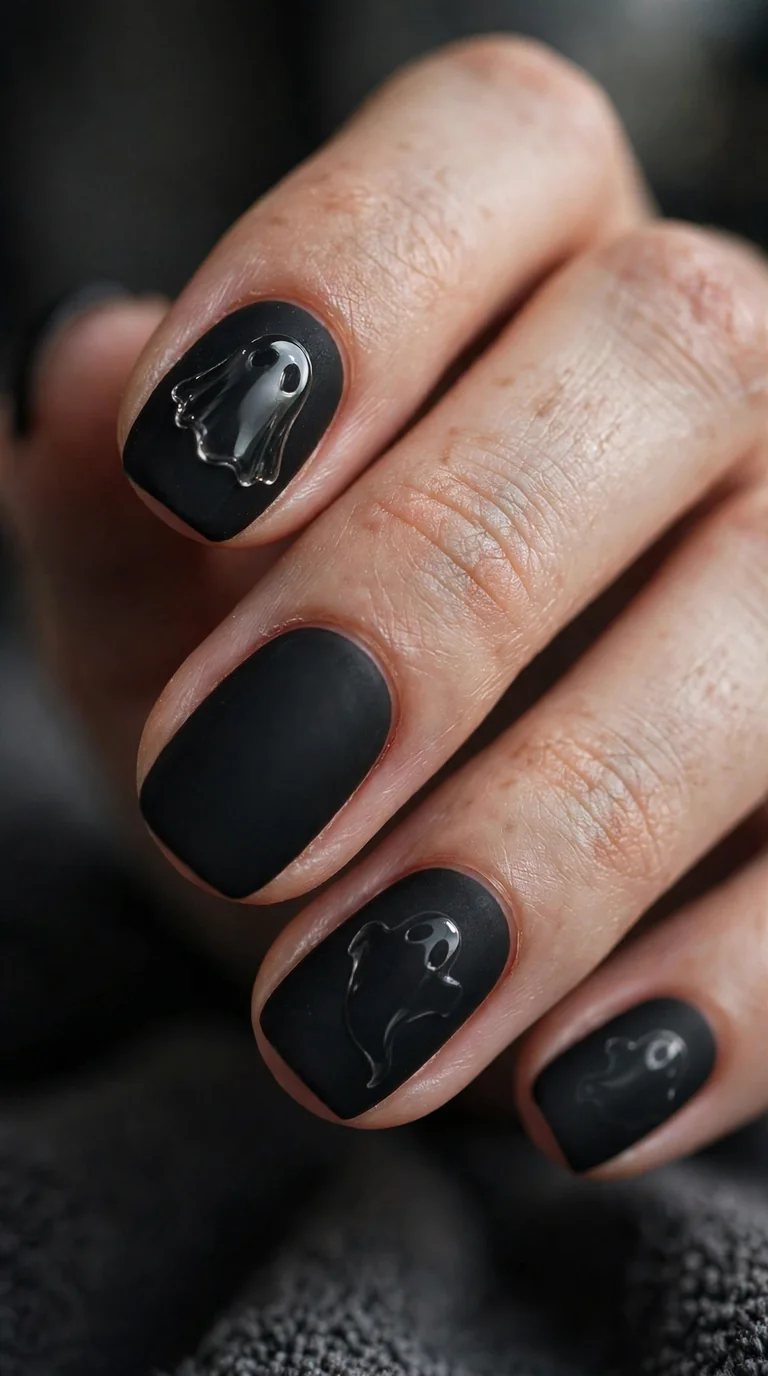
15. Tonal Ghost Silhouettes: Glossy Black on Matte
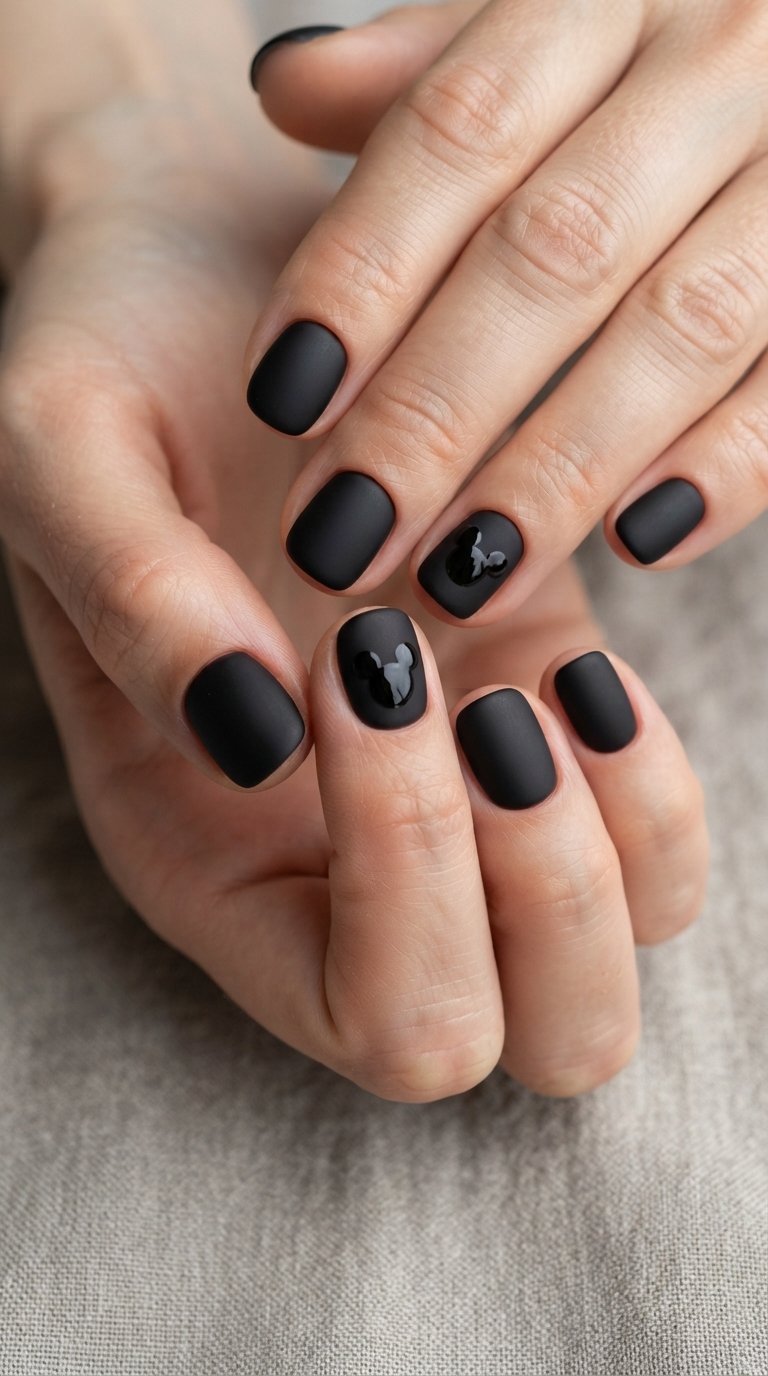
The subtlest spooky nail art on this list. The whole nail is matte black, and ghost silhouettes are painted on top using only glossy top coat, no pigment at all. In flat light these matte black nails look plain; when light hits, the glossy ghosts appear like apparitions.
Application order matters: matte top coat first and fully cured, then paint ghost shapes with regular glossy top coat and cure again. Keep the ghosts simple silhouettes, since detail would be invisible in a tonal design, and two accent nails are plenty. Medium lengths in any shape work. This is very DIY-friendly, though a steady hand helps the silhouettes read as ghosts. Avoid oils on the nail surface and refresh with an alcohol wipe.
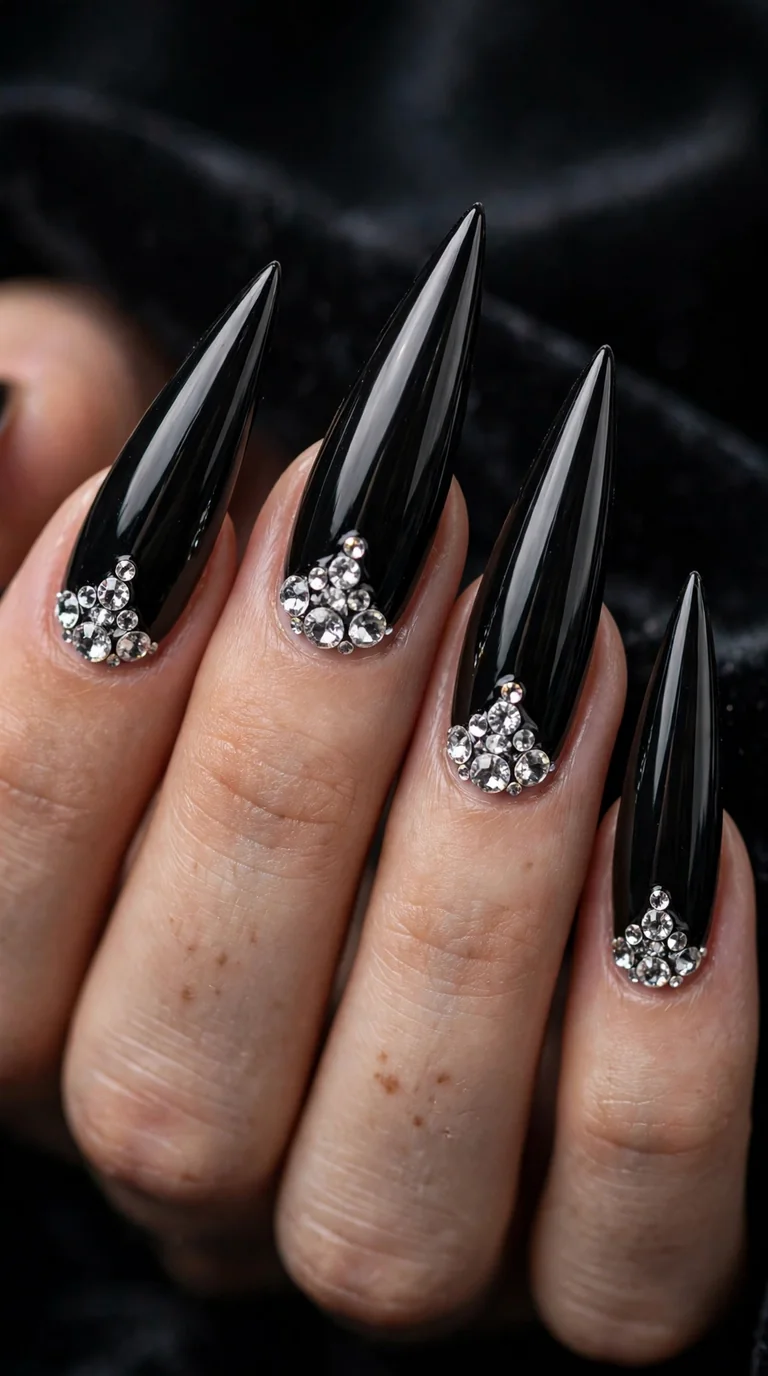
16. Black Stiletto Nails with Crystal Accents
Long, sharp stiletto nails in glossy black, finished with crystal rhinestones clustered at the cuticle or scattered like falling stars. The stiletto shape brings the drama, the black brings the mood, and the crystals keep it in party territory rather than costume.
Length is the whole point, so this suits extensions, acrylic, hard gel or press-ons rather than natural nails. Crystals must be set into builder gel or gem glue and sealed around the edges, never just balanced on top coat, or they pop off on night one. Be honest about lifestyle before committing: stilettos this long make typing and zippers an adventure. For one Halloween weekend they are unbeatable.
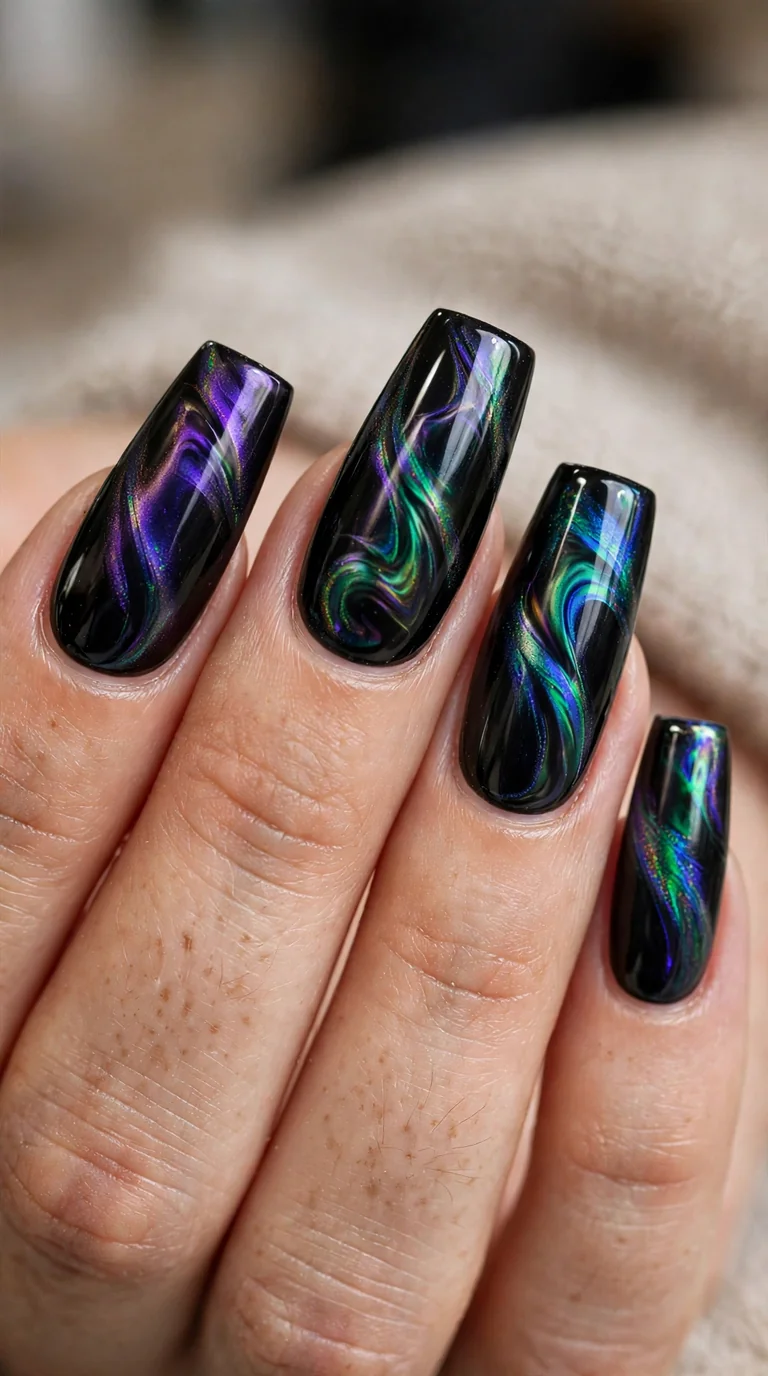
17. Oil-Slick Black Halloween Nails with Iridescent Shimmer
Iridescent shimmer over black creates the oil-slick effect: purple, green and blue flashes moving across the nail like petrol on water. The base stays black-dominant, but every movement reveals hidden colour. Hypnotic, modern and very 2026.
Multichrome powder over black gel is the standard route, sealed under glossy top coat. Flakie top coats over black give a similar effect with less fuss and are the better DIY option. Medium almond or coffin lengths show the colour shift best. The finish is surprisingly wearable because the shimmer reads neutral from a distance and reveals itself only up close. Powder needs a smooth base to shift cleanly.
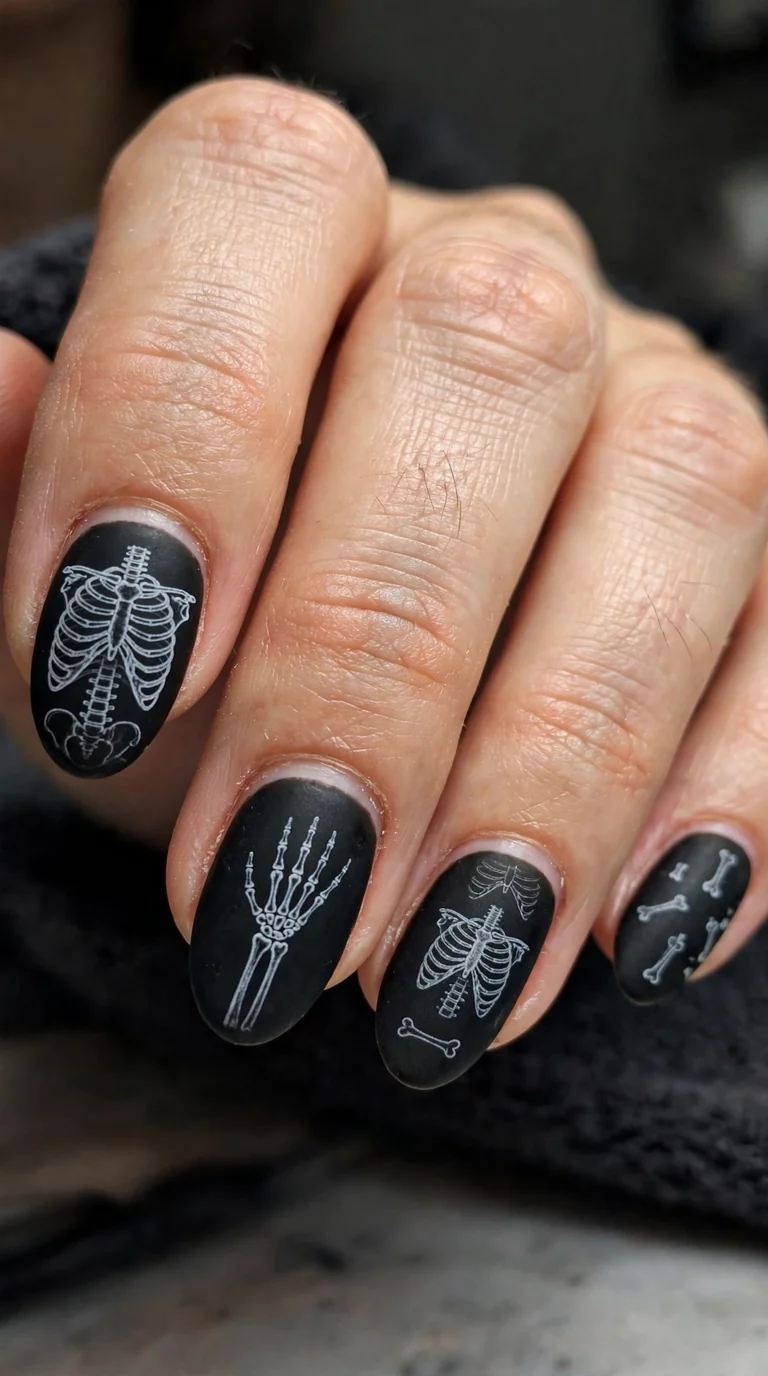
18. Fine White Skeleton Line Art on Matte Black
Delicate white line art, tiny skeleton hands, ribcage curves, a small skull profile, drawn on matte black accent nails with a long striping brush. The whisper-thin lines separate this from bolder Halloween art. It looks like an anatomical sketch in chalk on a blackboard.
This is advanced hand-painting and leans heavily salon. The artist needs confidence with line work because there is no covering a wobbly skeleton hand. Line work lives or dies on precision, so limit the art to two or three nails and keep the rest clean matte black.
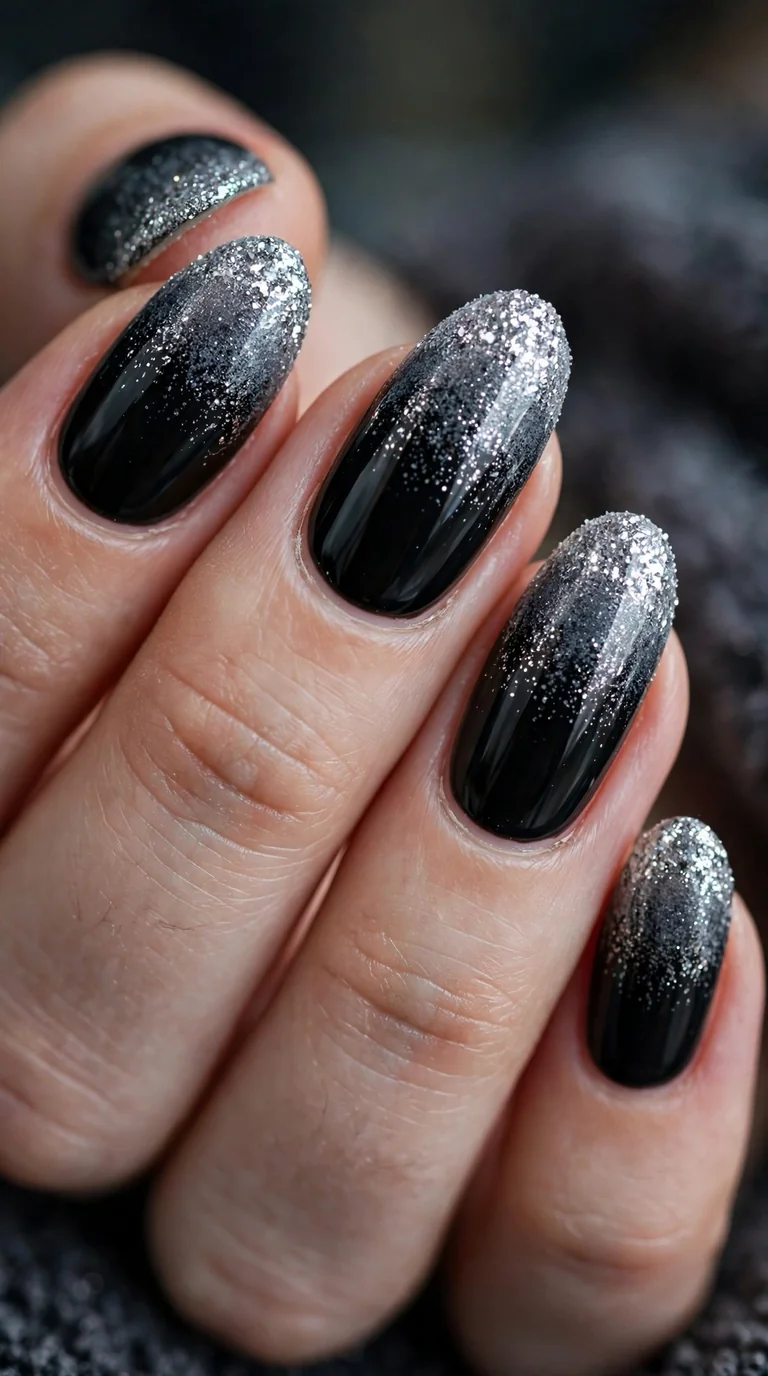
19. Black-to-Silver Glitter Gradient Nails
Silver glitter fades from the tips down into a black base, like frost creeping over midnight. The glitter sits densest at the free edge and dissolves toward the cuticle, applied with a sponge in thin layers. Festive without being loud, and the sparkle gives black real evening energy.
Any shape works, and this gradient flatters short nails where full glitter can overwhelm. DIY is very achievable: sponge the glitter polish in layers, let each dry, then seal with two coats of glossy top coat. The fade hides uneven edges, which makes it forgiving. The honest downside is removal: glitter bonds stubbornly, so soak with the foil method and be patient rather than scraping. The glitter camouflages tip wear nicely.
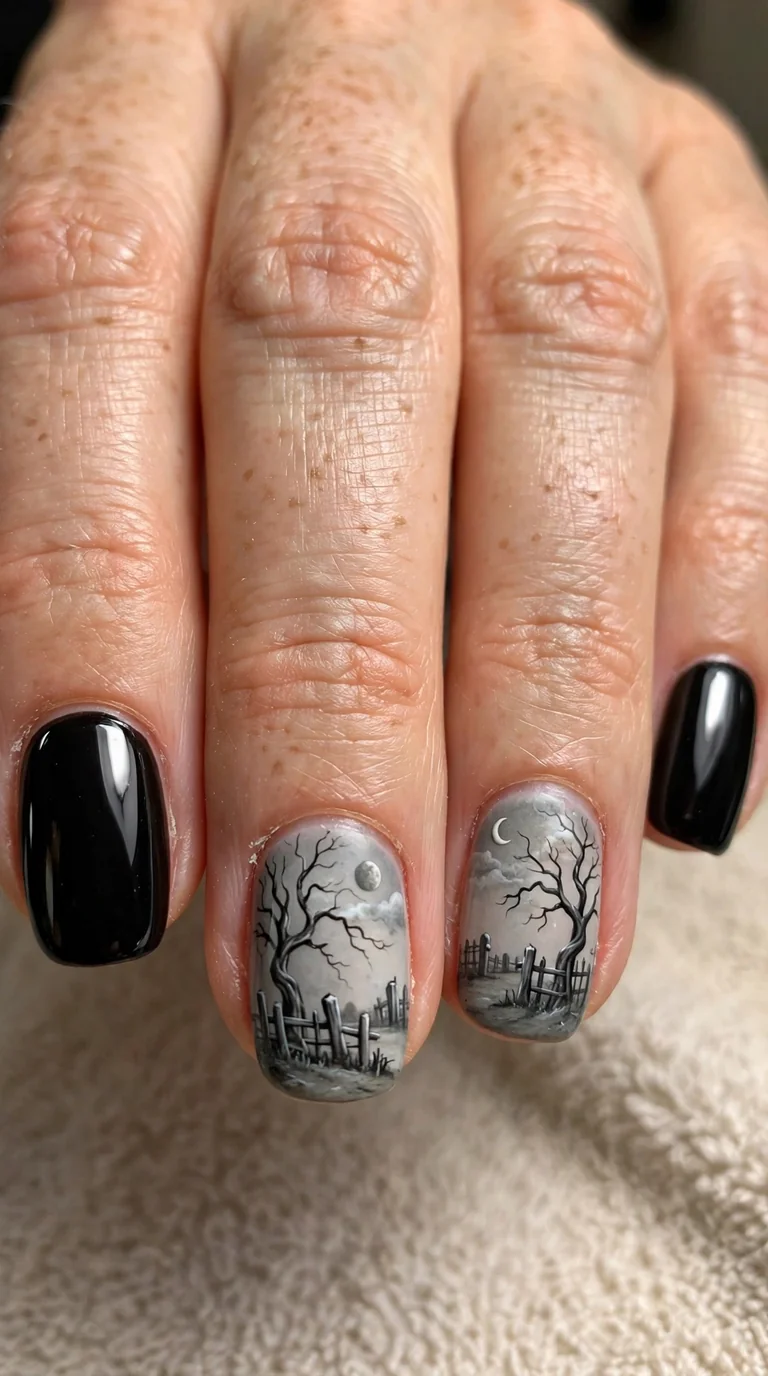
20. Miniature Graveyard Scene on Glossy Black
Two accent nails become tiny canvases: a hand-painted graveyard scene in muted greys, a crooked fence, a bare twisted tree, a small moon. The remaining nails stay clean glossy black so the scenes read as art, not clutter.
This is the most ambitious design here and firmly a salon commission. The scenes are painted at millimetre scale, and the artist needs genuine miniature-painting skill. Book extra time and bring reference images. Longer nails, medium to long almond or coffin, give the scene its stage. Expect art pricing per nail and roughly two weeks before fine details soften.
Practical Tips for Wearing Black Halloween Nails
Dark polish punishes poor prep, so never skip base coat. Black pigment stains the nail plate, and on natural nails that staining lingers for weeks. A quality base coat keeps removal clean.
Matte black shows everything: skin oils, lint, foundation transfer. Keep an alcohol wipe in your bag and swipe nails when they start looking patchy. Ten seconds restores the velvet finish completely.
If you love the mood but want something quieter for workdays, our minimalist halloween nails roundup keeps the seasonal spirit with a lighter touch.
For salon visits, bring reference photos and name the finish first, matte, chrome, cat-eye or velvet, before discussing art. Techs price by technique, so naming the finish helps them quote accurately.
FAQs About Black Halloween Nails
Do black Halloween nails suit short nails?
Yes. Black French tips, lace stamping, glitter gradients and jelly finishes all flatter short nails. Save detailed miniature art for medium to long nails where the detail has room.
How long do black gel Halloween nails last?
Standard black gel sets last two to three weeks with proper application. Velvet wears slightly shorter, around ten to fourteen days. Regular polish usually needs attention by day five.
Will black polish stain my natural nails?
It can, but staining is preventable. Always use a proper base coat under dark colours. If staining happens, a gentle buff and a soak in lemon water usually lifts it. Gel black rarely stains because the base layer seals the nail.
Can I do black Halloween nail art at home as a beginner?
Yes, if you pick the right designs. Foil flakes, glitter gradients, jelly finishes and aura effects are beginner-friendly because they forgive imperfect technique. Leave chrome mirrors, 3D sculpting and miniature scenes to a salon until your skills build.
What should I ask for at the salon to get these designs?
When requesting black halloween nails at the salon, name the finish first, then the art. Say matte black gel with silver spiderweb accents, or black cat-eye with skull line art, rather than describing vaguely. Bring reference photos and ask about per-nail pricing for hand-painted details.
Which Black Halloween Design Will You Try?
Twenty designs, one colour family, zero boring sets. Whether you choose the quiet trickery of tonal ghosts, the luxury of velvet black or the full drama of sculpted roses, black halloween nails prove that spooky and elegant are not opposites. Pick the design that matches your skill level and your October plans, and wear the dark side well past Halloween night.


One Comment